Here’s what you will need:
- PwnageTool 4.3
- iOS 4.3.2 firmware
- iTunes 10.2.1
- Mac OS X
- PwnageTool bundle for iOS 4.3.2
- tetheredboot utility
Note:
- There is no unlock for the new baseband on iOS 4.3.2. If your iPhone relies on a carrier unlock, DO NOT update to stock iOS 4.3.2.
- iPad 2 users on iOS 4.3 should stay away from iOS 4.3.2 until further confirmation.
- Cydia is fully working on iOS 4.3.2
- It is a semi-tethered jailbreak.
- Your baseband will not be upgraded during restore process.
- Hacktivation is supported.
Modifying PwnageTool
Step 1: Download PwnageTool bundle for your version of iOS device. Extract the .zip folder, in there you will find a .bundle file, for this guide, we are using iPhone 4 bundle iPhone3,1_4.3.2_8H7.bundle. Move this file to your desktop.
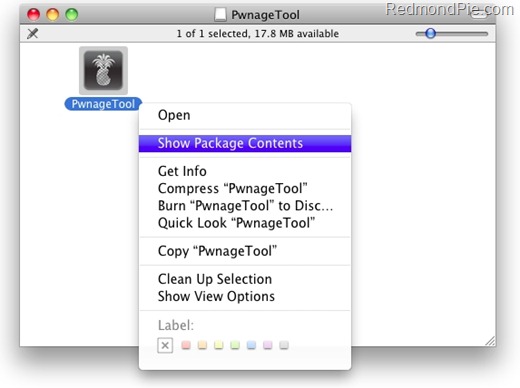
Step 2: Download PwnageTool 4.3 and copy it to /Applications directory. Right click, and then click on “Show Package Contents†as shown in the screenshot below.
Step 3: Navigate to Contents/Resources/FirmwareBundles/ and paste iPhone3,1_4.3.2_8H7.bundle file in this location.
Building iOS 4.3.2 Custom Firmware
Step 4: Download iOS 4.3.2 firmware. Move this file to your desktop.
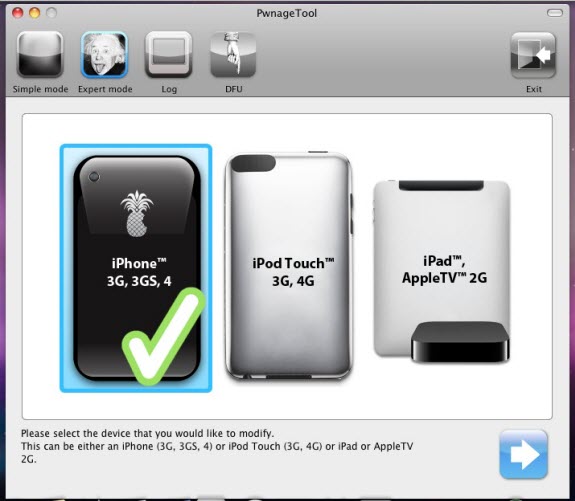
Step 5: Start PwnageTool in “Expert mode†and select your device
Step 6: Browse for iOS 4.3.2 firmware for your device as shown in the screenshot below:

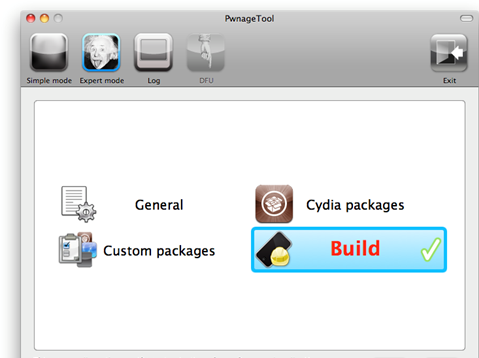
Step 7: Now select “Build†to start creating custom 4.3.2 firmware file:
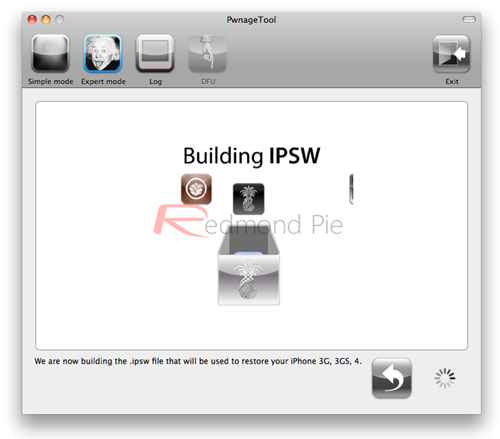
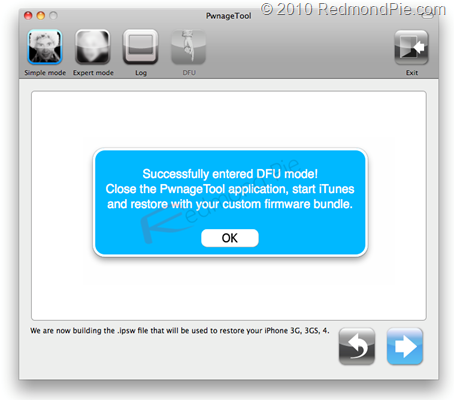
Step 8: PwnageTool will now create the custom .ipsw file for your iPhone which will be jailbroken.
- Hold Power and Home buttons for 10 seconds
- Now release the Power button but continue holding the Home button for 10 more seconds
- You device should now be in DFU mode
Restore iOS 4.3.2 Custom Firmware Using iTunes
Step 10: Start iTunes, click on your iOS device icon from the sidebar in iTunes. Now press and hold left “alt†(option) button on Mac, or Left “Shift†button if you are on Windows on the keyboard and then click on “Restore†(Not “Update†or “Check for Updateâ€) button in the iTunes and then release this button.
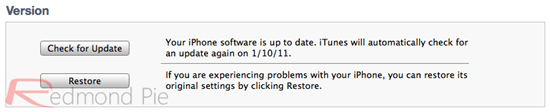
This will make iTunes prompt you to select the location for your custom firmware 4.3.2 file. Select the required custom .ipsw file that you created above, and click on “Openâ€.
Step 11: Now sit back and enjoy as iTunes does the rest for you. This will involve a series of automated steps. Be patient at this stage and don’t do anything silly. Just wait while iTunes installs the new firmware 4.3.2 on your iOS device. Your iOS device screen at this point will be showing a progress bar indicating installation progress. After the installation is done, your iOS device will be jailbroken on iOS 4.3.2.
Booting in Tethered Mode
Last but not the least, since there is no untethered jailbreak for iOS 4.3.2 yet, we will have to boot it into a tethered jailbroken state. To do this, we will make use of a utility named “tetheredboot†as shown in the steps below.
Step 12: Download tetheredboot.zip utility for Mac OS X and extract the .zip file.
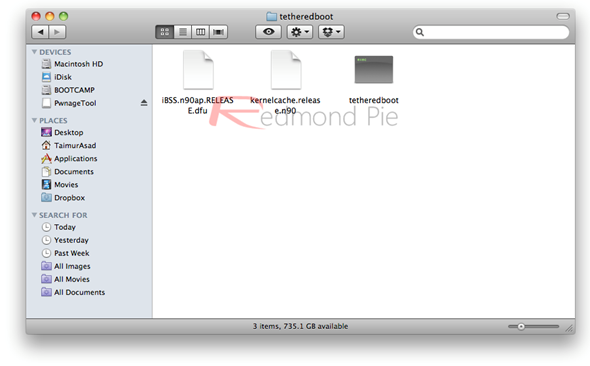
Step 13: First, we will need two files from the custom iOS 4.3.2 firmware namely: kernelcache.release.n90 andiBSS.n90ap.RELEASE.dfu. To do this, make a copy of your custom iOS 4.3.2 file that you created above, change the extension of this file from .ipsw to .zip, and then extract this .zip file.
Now copy kernelcache.release.n90 file, and then copy iBSS.n90ap.RELEASE.dfu files which are found under/Firmware/dfu/.
Move all these files, and tetheredboot utility to a new folder named “tetheredboot†on the desktop as shown in the screenshot below.
Step 14: Turn off your iOS device, and start Terminal on OS X and run the following commands:
sudo -s
enter your administrator password, then:
/Users/username/Desktop/tetheredboot/tetheredboot
/Users/username/Desktop/tetheredboot/iBSS.n90ap.RELEASE.dfu
/Users/username/Desktop/tetheredboot/kernelcache.release.n90
You will have to of course replace “username†with the name of the directory on your computer.
now press enter.
NOTE: If the above fails, try ‘tetheredboot -i ibss -k kernel’ instead of ‘tetheredboot ibss kernel’:
/Users/username/Desktop/tetheredboot/tetheredboot –i
/Users/username/Desktop/tetheredboot/iBSS.n90ap.RELEASE.dfu -k
/Users/username/Desktop/tetheredboot/kernelcache.release.n90
Tip: Simply drag and drop in Terminal – tetheredboot file, then iBSS file and then kernelcache.release file.

You should now see some code running in the Terminal window, at some point, it will ask you to enter DFU mode. Now follow the following steps to enter DFU mode:
- Hold Power and Home buttons for 10 seconds
- Now release the Power button but continue holding the Home button for 10 more seconds
- You device should now be in DFU mode
Now wait for your device to boot, Terminal at this point will be showing “Exiting libpois0n†message. After a short while, your iPhone, iPad or iPod touch will be booted in a jailbroken tethered mode !


